So the origin of wet plate collodion goes back until the 1850s when the new technique has replaced the first photographic process called Daguerrotype. In the process we using collodion what has to be poured on a plate or glass, and handle it in a dark environment.
Bare in mind we using highly harmful and deadly chemicals!!! It is very important to know some health and safety issues. Because we work with glass and thin aluminium, these are sharp things and you can easily injure yourself. Collodion and Diethyl ether are colourless liquids and highly flammable. Cadmium bromide is extremely hazardous. It is a solid white to yellow crystalline. Acetic acid is a colourless liquid at room temp and it is dangerously corrosive. Ammonium iodide, white crystalline powder used in developer.
Recipe for collodion:
- Ethyl alcohol 95-100%
- Ethyl Ether
- Cadmium Iodide
- Cadmium Bromide
- Nitrocellulose
- Sulfuric acid
- Silver Nitrate
- Ferrous Nitrate
- collodion: 118 ml
- Ethyl Ether: 77ml
- Ethyl Alcohol: 77ml
After we have been introduced to the chemicals, and the health and safety issues our "historical process" session has began.

Wet plate
Preparation:
If we using glass plate first we have to polish the surface to dissolve any grease and fingerprints to make sure the collodion will perfectly distributed on the plate. We used egg white to coat the edges of the plate this will help the collodion to stay on on the edges. After the plate has been polished and the egg white been applied on the edges, the collodion has to be treated in silver nitrate to make it photo sensitive. I have put the plate in the silver nitrate tank for 3 minutes. After this stage the process needs to be done in darkness, only the safe lights can be on. After 3 minutes our plate is ready to be taken out of the silver nitrate tank and to be placed in the film holder. We used half plate, so the size is smaller than 4x5". Now I have a loaded film holder and a light sensitive glass plate.

On the camera I've set up the distance, framing and the focus. The camera has to be focused on the eye because it is a portraiture and the dept of field is so shallow, anything outside of the focus plane will be blurred out. We set the lens for the widest aperture.
Taking the shot
After everything is done I just have to take the picture. I take the lens cap off release the flash and put the lens cap on. After all this, make sure the darkslide is back in its place, and head back to the darkroom.
Developing and fixing
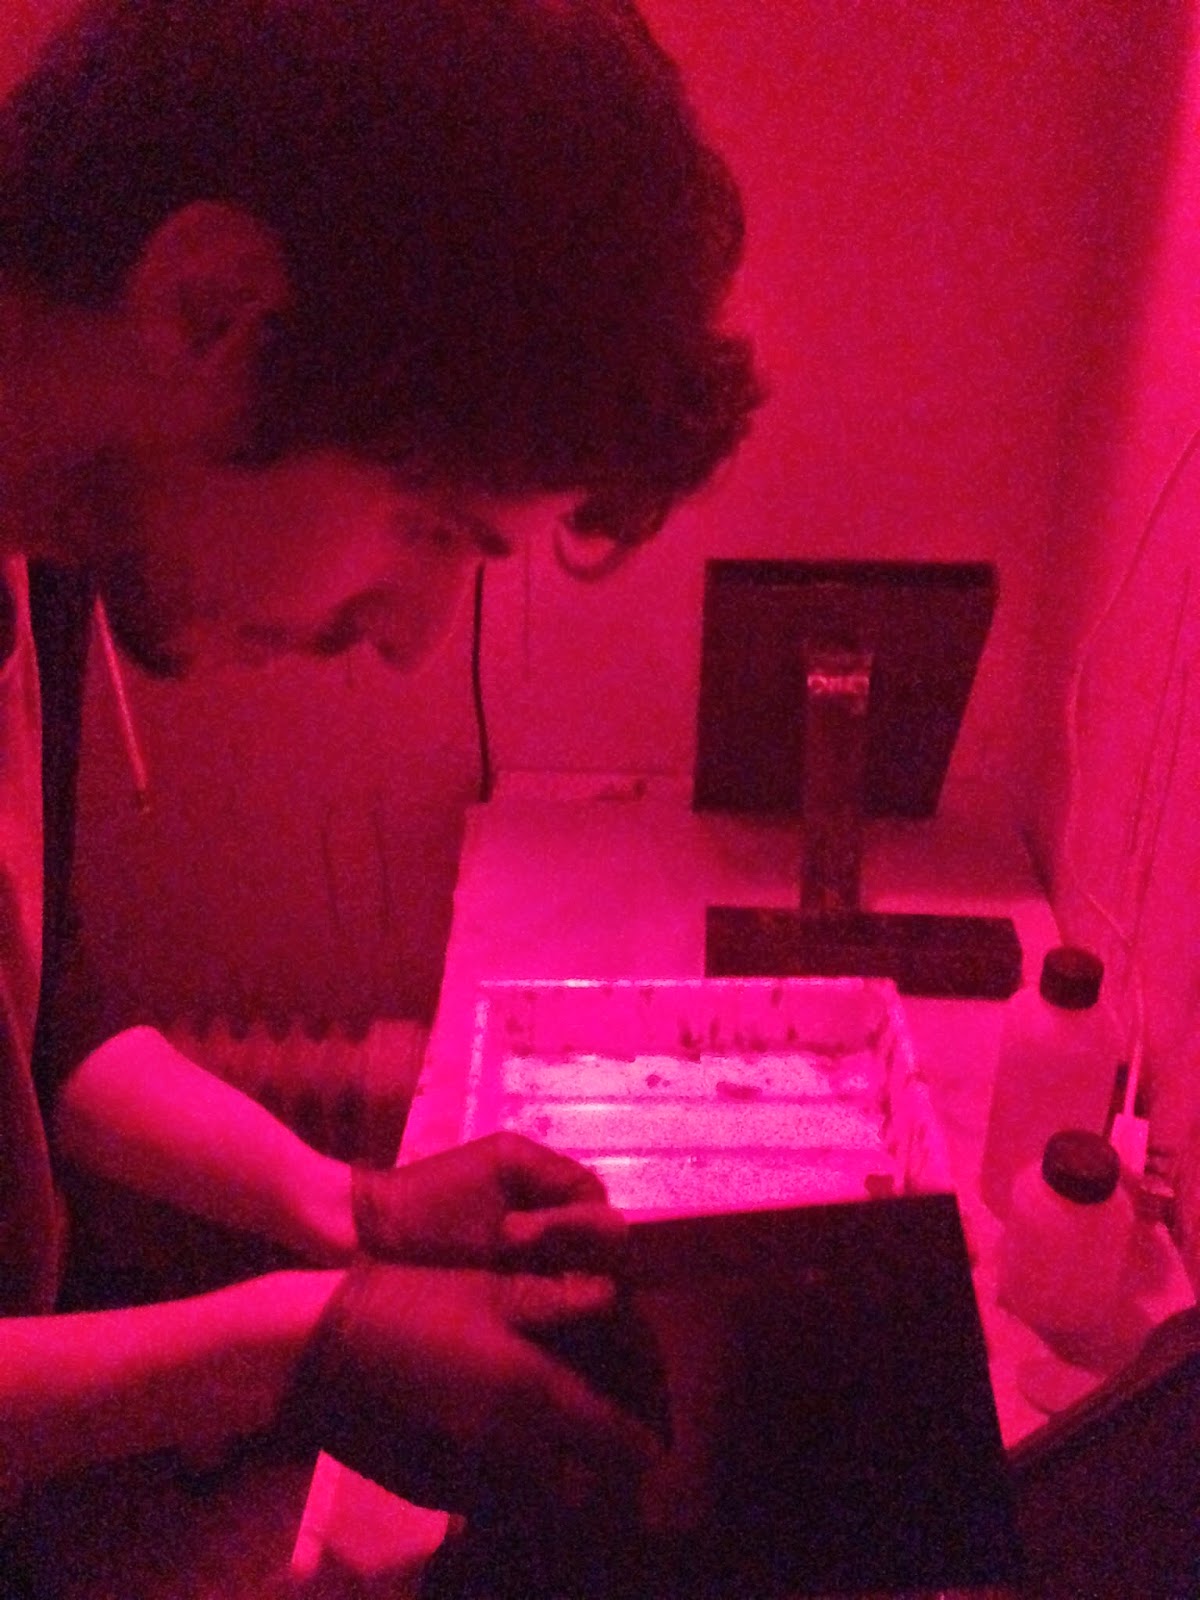
Open the film holder in complete darkness and then pour developer on the plate, leave it on for about 20 seconds meanwhile tilting the image to let the developer cover the whole image, and rinse the image. IMPORTANT to rinse the developed image with water if we use potassium cyanide. The acid releases gases from the cyanide and it is deadly. We all have to handle the chemicals with respect. The fixing procedure takes a couple of minutes. Usually it takes until the image clears and the milky Iodides wash off.
Wash the plate and leave it in the drier for a couple of minutes.
Here are the final images:


First attempt in wet plate collodion photography, the quality is satisfying for me, but keep on trying for a better result. I am fascinated by the resolution of the pictures, every little detail can be seen on the skin thanks for the UV light and the emulsion. The collodion exposes for the UV light which gets under the models skin.
http://www.alternativephotography.com/wp/processes/wetplate/the-wetplate-collodion-process
Nice one daniel, I didn't realise you were documenting the process. Shows an understanding of the risks of the process.
ReplyDelete